CRLS Research Guide Cambridge Rindge And Latin Research Guide
Options for Creating Your Outline
Had a problem? Scroll down to see our "Problems and Solutions" section
OPTION 1
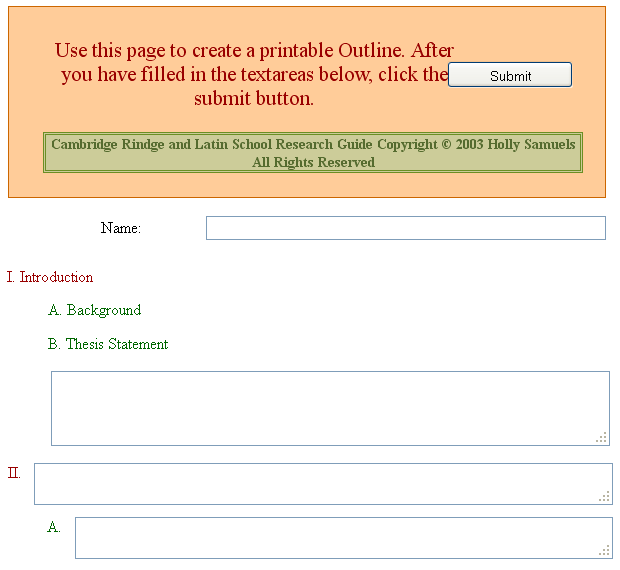
If you are using computer that is older that 10 years old, you should try the original version. It is an interactive Outline form. You can type in your Thesis Statement, Subtopics and Supporting Evidence etc and press submit. This will produce a printable outline with all your words in the right places.
OPTION 2
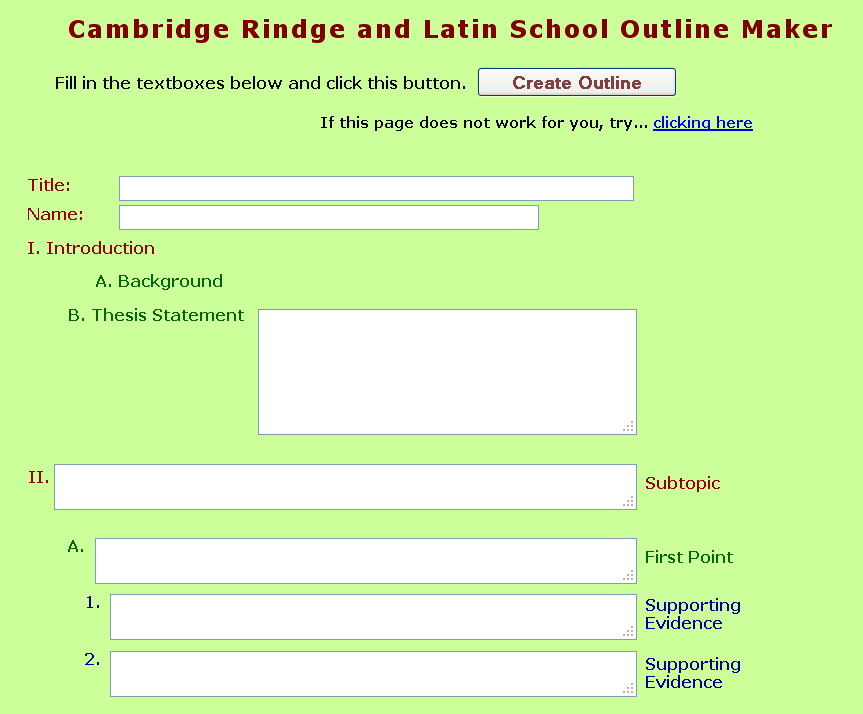
For those of you that have a more modern computer like Windows
XP or MAC OS X, try the very popular second version
.
Like the version above, it will help you create your
outline, but it is more flexible and fun to use because it lets you add new
points.
This
is worth a look!
OPTION 3
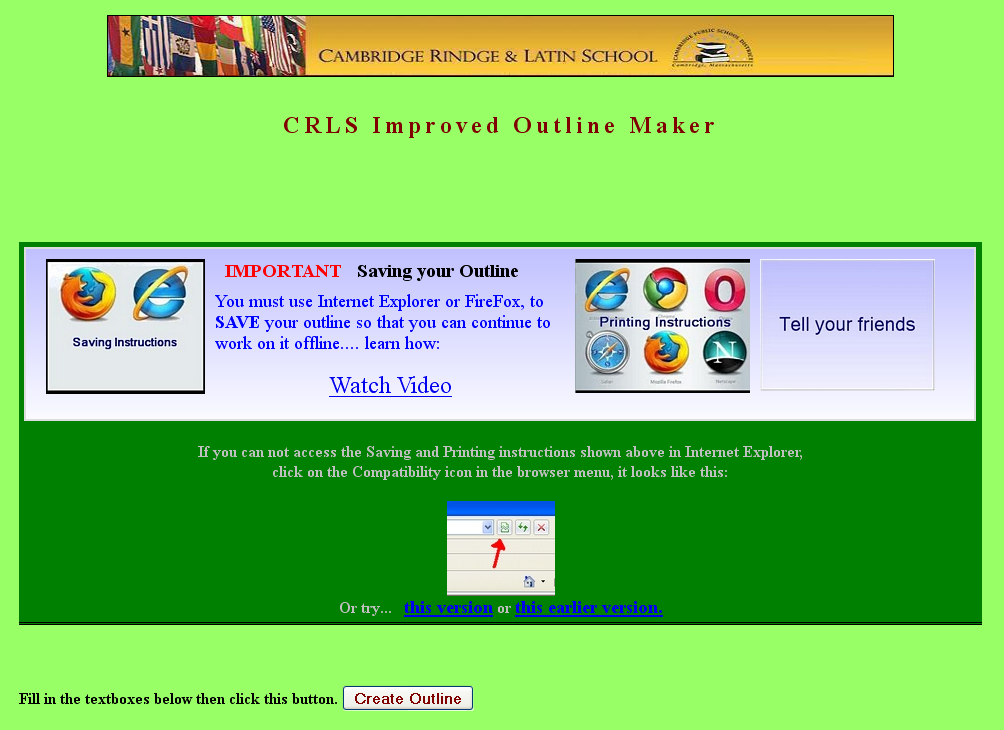
NOW try the improved version. Everyone has been asking for even more control over how many points and evidence they can add to their outline. This improved version is more even MORE flexible. Now you will be able to create your outline the way you want ... adding new points and adding supporting evidence to all your points.
If you have problems with this improved version, fill in the technical report below.
Problems and Solutions:
Q: I tried to save an outline I had finished to my computer, but i ended up saving the "how to save" page instead. PLEASE help!
A: This was an OPTION 2 problem. I changed the code so that when you click on the "Save your Outline" link, the instructions will appear in a new tab or browser window. It might be helpful to print these instructions at this point. To return to your outline, look for the "Outline Output - CRLS Research Guide" tab at the top of your browser. Open this tab and follow the instructions you have just printed.
Q: Nothing happens when I press the "Create Outline" button.
A: This applies to OPTION 3. Decide if you want to Save or Print your outline. Then watch the appropriate video to learn which browser you will need to use.
STEP 1: Fill in the textboxes on the Outline maker.
STEP 2: Click the "Create Outline" button. When you see "Processing..." your outline is being created.
STEP 3: Print your outline or Save it to your computer (watch the videos to learn how).


